Beyond the Beat Drop: 7 Advanced Audio-Reactive Visual Techniques That Transform Your Live Performance
Discover advanced audio-reactive visual techniques using FFT analysis, stem separation, and sync protocols to create visuals that truly listen to music.
 🔍 COVER PLATE — CLICK TO EXPAND
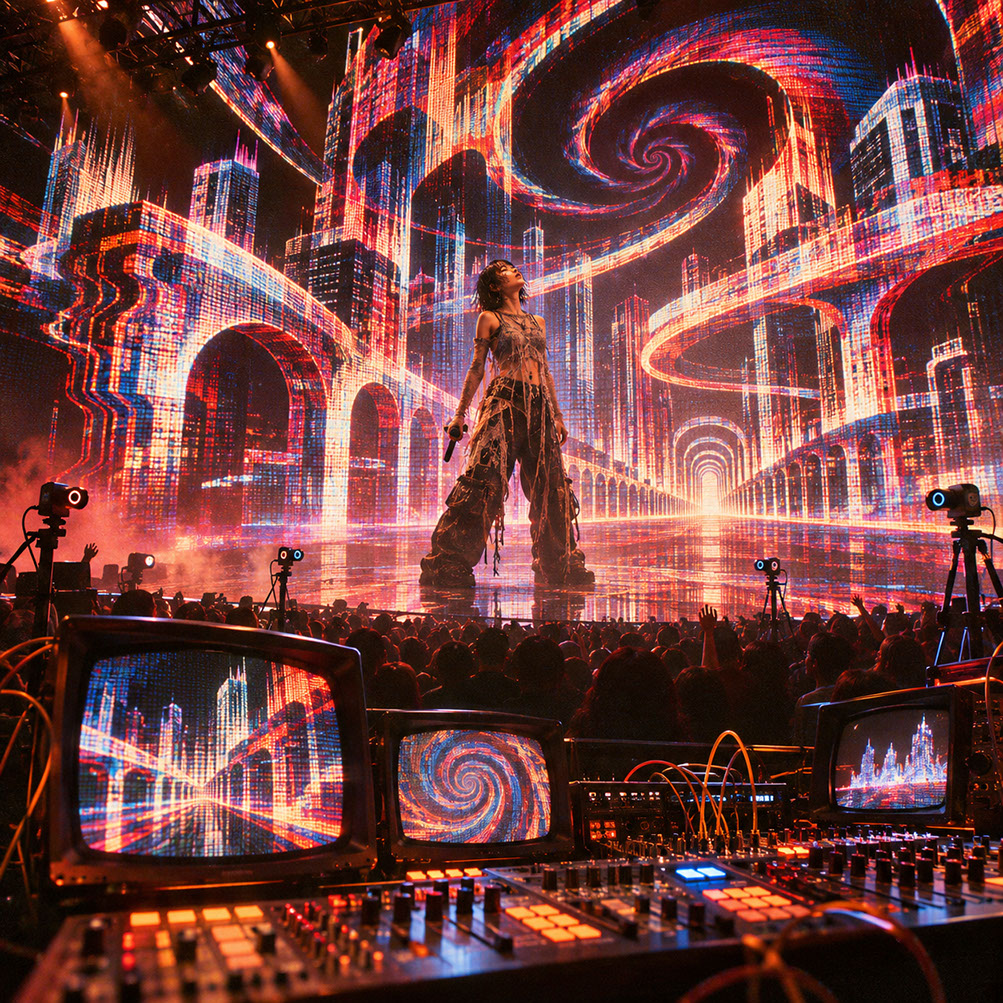
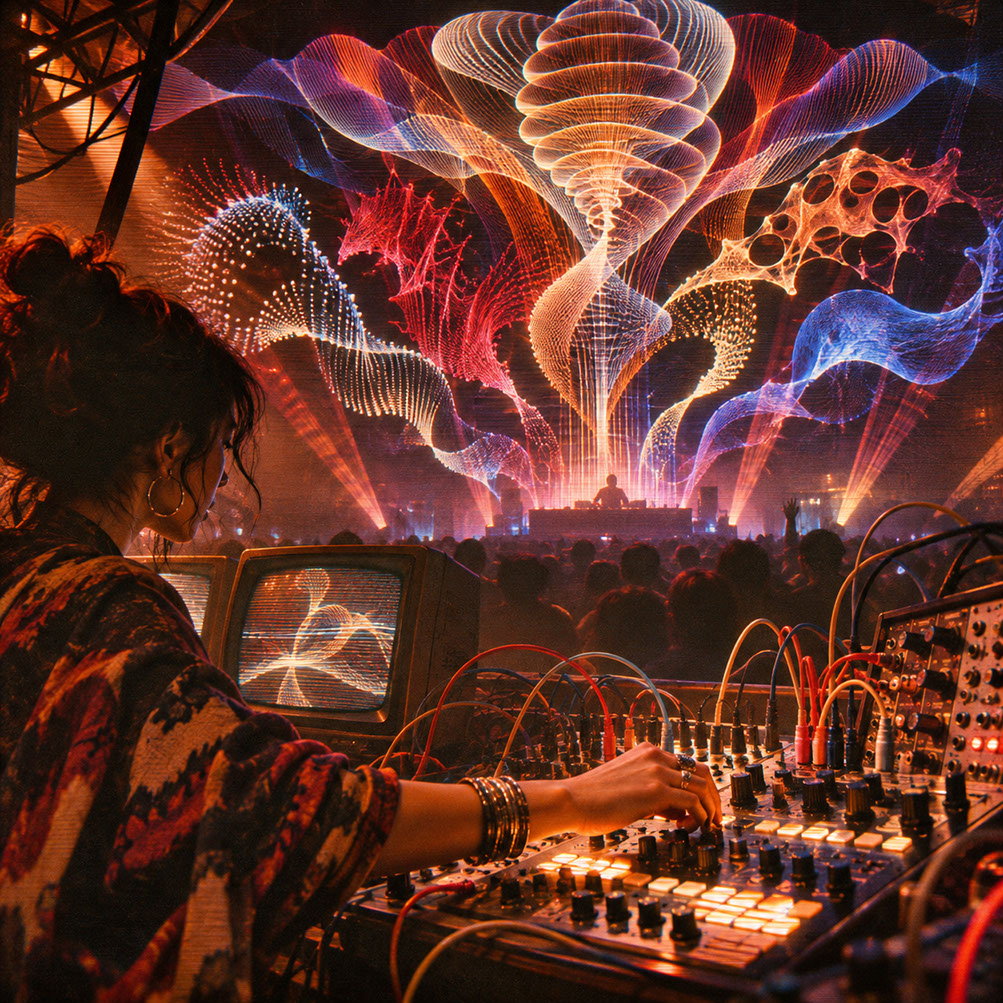
Episode 4 Hero Cover: Moving beyond rudimentary volume scaling to create intelligent audio-reactive systems that listen to rhythm, harmony, and musical phrasing.
Introduction
We have all seen it happen. Picture the visual equivalent of a novice DJ who slams the crossfader on every single beat without fail. Everything pulses. Everything flashes. Every visual element reacts identically to amplitude, creating a relentless assault of movement that exhausts rather than elevates. When your visual system only understands loud and quiet, it responds identically to fundamentally different musical moments—a kick drum receives the same treatment as a vocal phrase, a snare hit triggers the same response as a synth pad.
The result is visual noise rather than visual music.
Basic amplitude thresholds simply cannot distinguish between the musical roles that make a track compelling. They collapse all musical information into a single dimension, ignoring quiet but musically important moments whilst bass frequencies dominate due to their raw energy content. Your visual system ends up reflecting the compressor's output rather than the music's meaning.
This post explores how to build visual systems that understand musical roles—systems that can respond differently to rhythm, melody, harmony, and arrangement. The goal is creating visual phrasing that mirrors the music's emotional arc, breathing with the performance rather than simply pulsing to the beat.
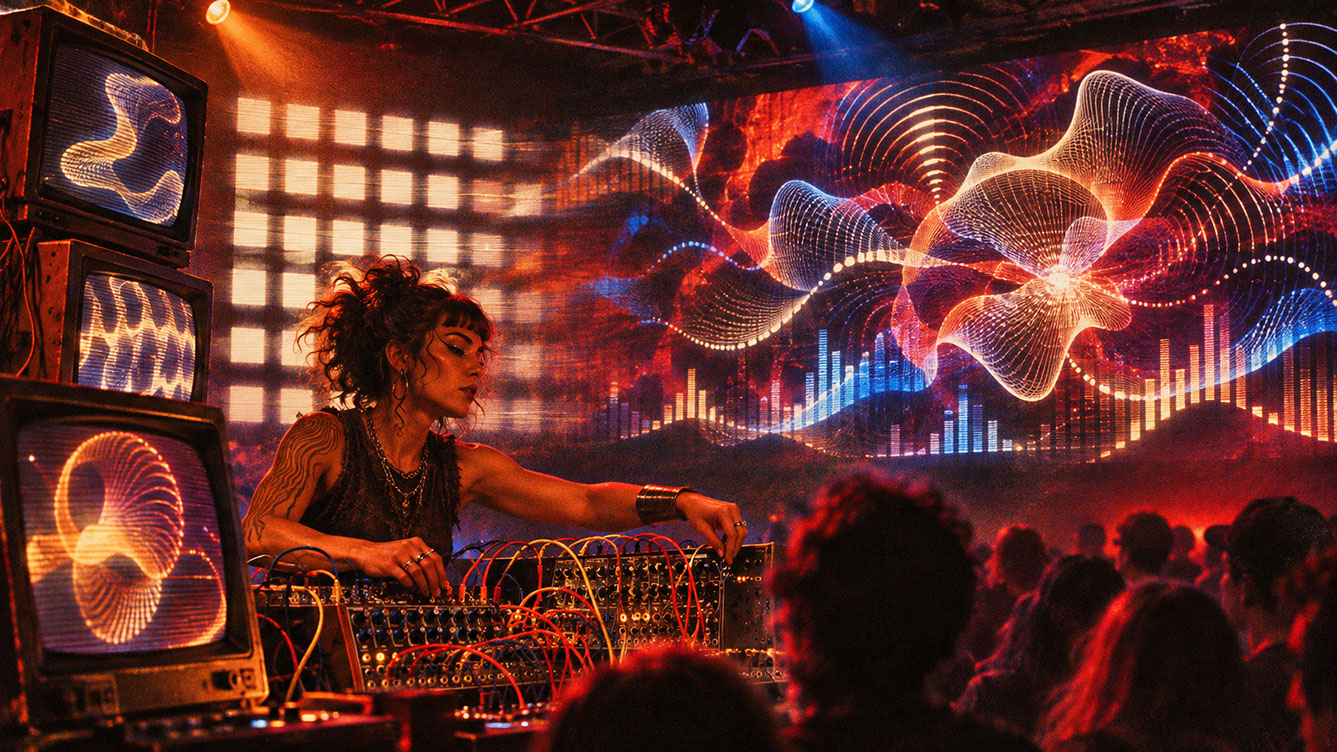 🔍 PLATE 01 — CLICK TO EXPAND
Plate 01 — Introduction — Designing Live Visual Systems That Truly Listen to Musical Nuance: Plate 01 (Introduction): Achieving true audiovisual synesthesia where the audience feels the visuals breathing with every musical layer.
The Limitations of Simple Reactivity
Why Amplitude Alone Fails
Single threshold analysis presents a fundamental problem: it collapses all musical information into one dimension. There is no distinction between sustained energy and transient impacts. Bass frequencies dominate because of their inherent energy content, whilst quiet but musically important moments—vocals, melodies, atmospheric textures—are completely ignored.
Human listeners automatically separate instruments and follow different elements throughout a track. We understand when the kick is driving, when the vocal is carrying emotion, when a breakdown is building tension. Traditional audio-reactive patches, however, treat the stereo mix as one undifferentiated signal. The missing information is critical: which instrument is playing, what role it serves, and where we are in the arrangement.
The available solutions fall into three categories that we will explore throughout this post: FFT spectrum analysis for extracting frequency information, real-time stem separation for isolating musical elements, and synchronisation protocols for understanding tempo, phase, and structure.
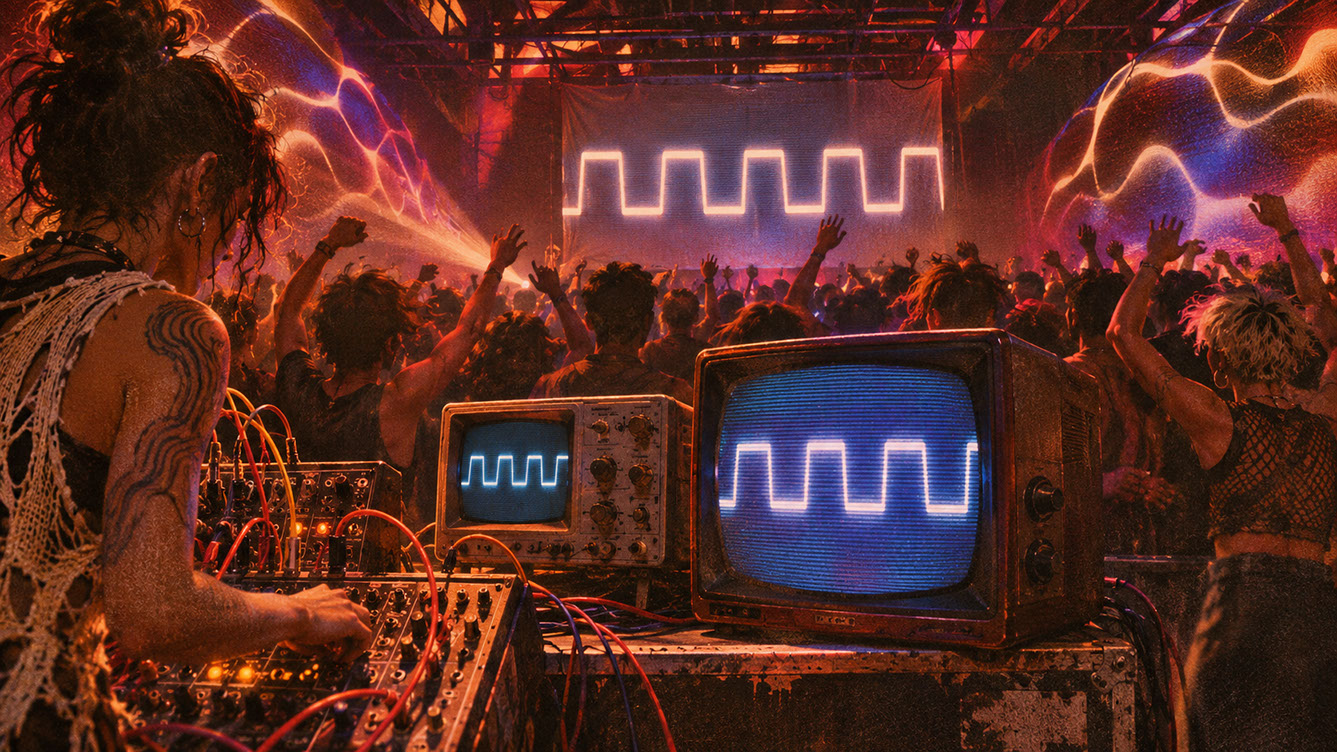 🔍 PLATE 02 — CLICK TO EXPAND
Plate 02 — The Limitations of Simple Reactivity — Why Master-Bus Amplitude Pumping Fails Live Shows: Plate 02 (Limitations of Simple Reactivity): Why raw RMS volume followers collapse under heavy club compression and exhaust audience attention.
FFT Spectrum Analysis Deep Dive
What FFT Actually Provides
Fast Fourier Transform converts time-domain audio into frequency-domain data. Rather than simply measuring overall loudness, FFT reveals which frequencies are present and their relative energies at any given moment. This enables band-splitting: extracting bass, mid, and high-frequency information separately.
Practical Band Extraction
Typical frequency band divisions for musical relevance include:
- Sub-bass (20-60Hz): Kick drum fundamental, bass weight
- Bass (60-250Hz): Bass instruments, kick attack
- Low-mids (250-500Hz): Body of many instruments
- Mids (500-2000Hz): Vocals, lead instruments
- High-mids (2000-4000Hz): Presence, clarity
- Highs (4000-20000Hz): Cymbals, air, brightness
Beyond Simple Band Energy
FFT analysis becomes significantly more powerful when you move beyond simple band energy measurements. Transient detection within bands allows you to distinguish attacks from sustains—essential for punchy kick responses versus smooth pad reactions. Spectral flux measures how much the spectrum changes over time, excellent for detecting musical transitions. Peak tracking versus RMS analysis provides different visual behaviours: peaks give you immediate transient response whilst RMS offers smoother, more averaged energy representation.
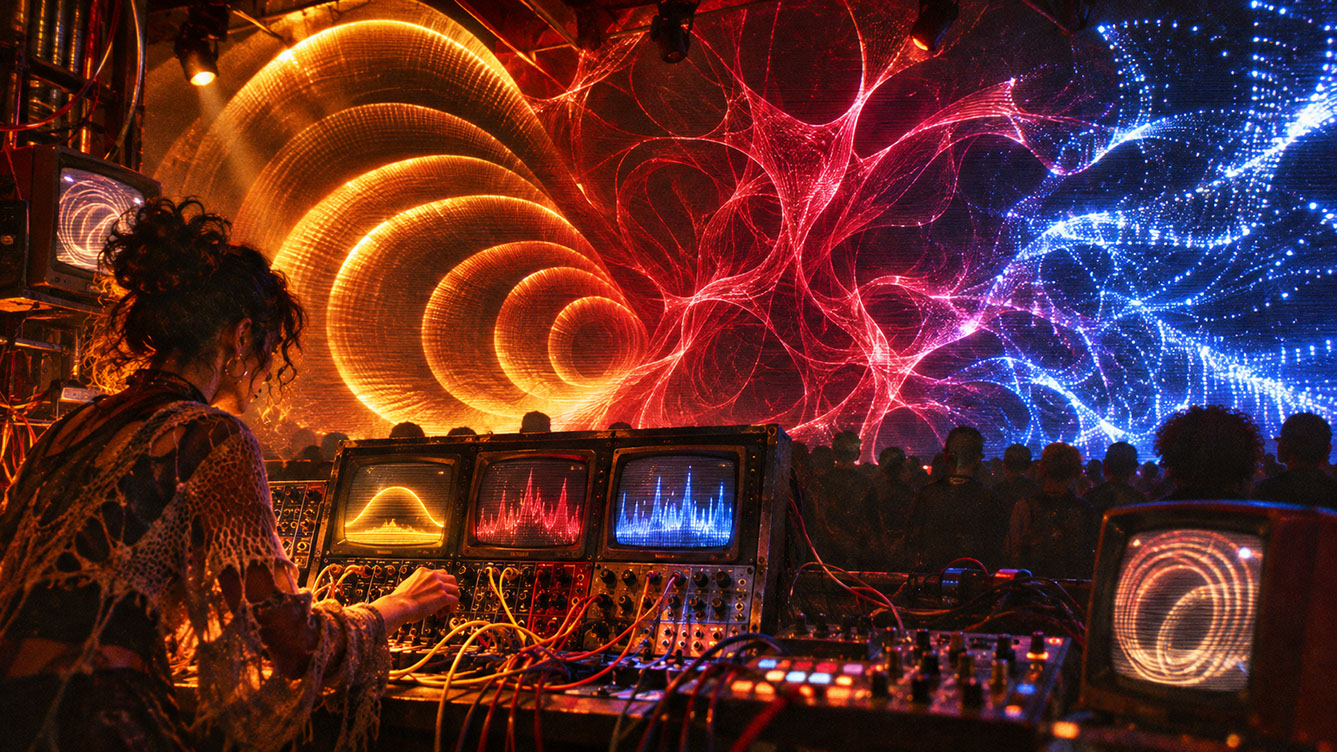 🔍 PLATE 03 — CLICK TO EXPAND
Plate 03 — FFT Spectrum Analysis Deep Dive — Sub-Bass, Mid-Range, Spectral Centroid & Flux Extraction: Plate 03 (FFT Spectrum Analysis Deep Dive): Extracting targeted frequency bands, spectral brightness, and onset flux from complex audio mixes.
Real-Time Stem Separation Technology
The Stem Separation Revolution
Modern machine-learning-based separation can extract individual musical elements in real-time from any stereo mix. Available engines include Demucs, Spleeter, and similar models that typically separate audio into drums, bass, vocals, and other instruments. Integration paths into visual software continue to expand, with TouchDesigner and other platforms offering increasingly straightforward implementation.
Practical Considerations
Latency implications matter significantly for live performance. Stem separation can add 100 milliseconds or more to your signal chain, which requires careful management of visual response timing. CPU and GPU requirements for real-time processing remain substantial, and quality trade-offs between speed and separation accuracy must be considered. Sometimes FFT bands provide sufficient information without the computational overhead of full stem separation.
Alternative Approaches
Working with pre-separated stems from producers or DJ software offers cleaner results than real-time reconstruction. Multichannel mixers can provide instrument groups directly. MIDI note data from performance software offers the most accurate information possible. The advantage of source access over reconstruction cannot be overstated—if you can get direct data, always prefer it.
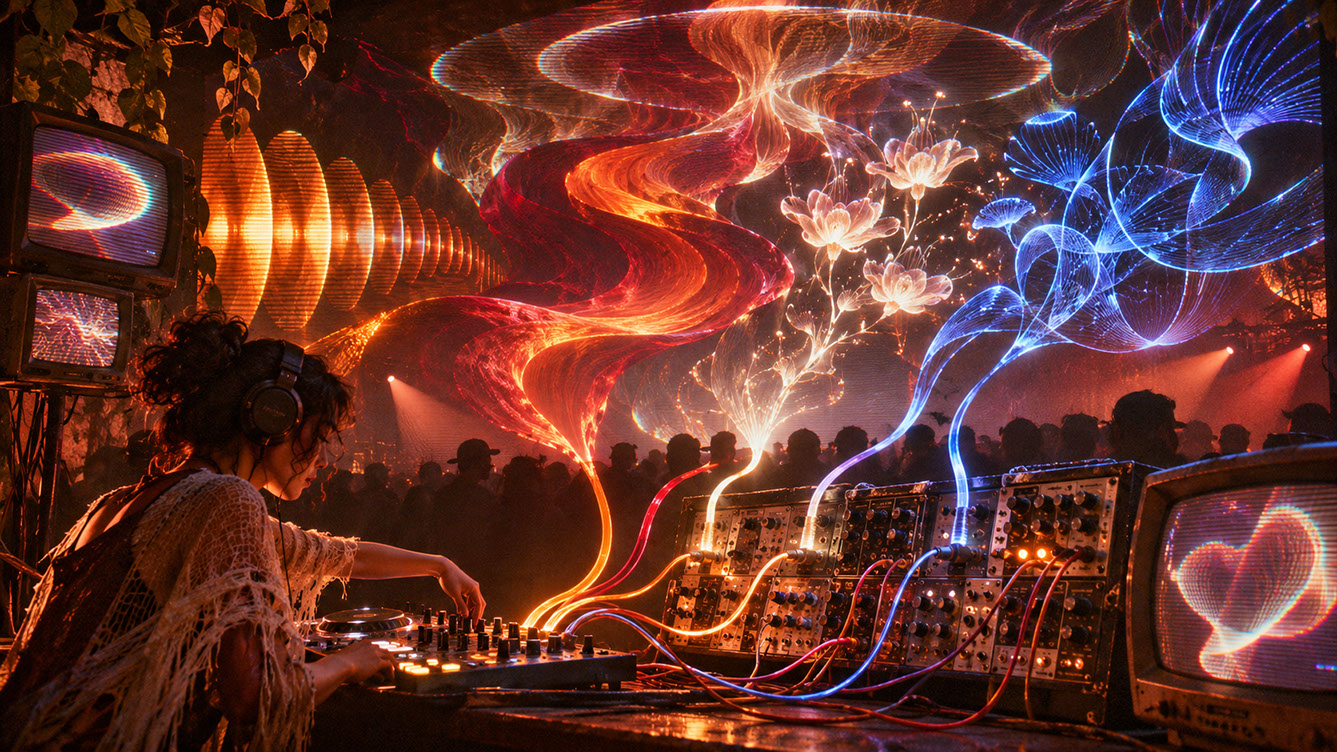 🔍 PLATE 04 — CLICK TO EXPAND
Plate 04 — Real-Time Stem Separation — Isolating Drums, Bass, Vocals & Synths from a Stereo Booth Feed: Plate 04 (Real-Time Stem Separation): Using low-latency neural demixing to drive separate visual layers from a standard two-channel DJ mixer feed.
Synchronisation Protocols Explained
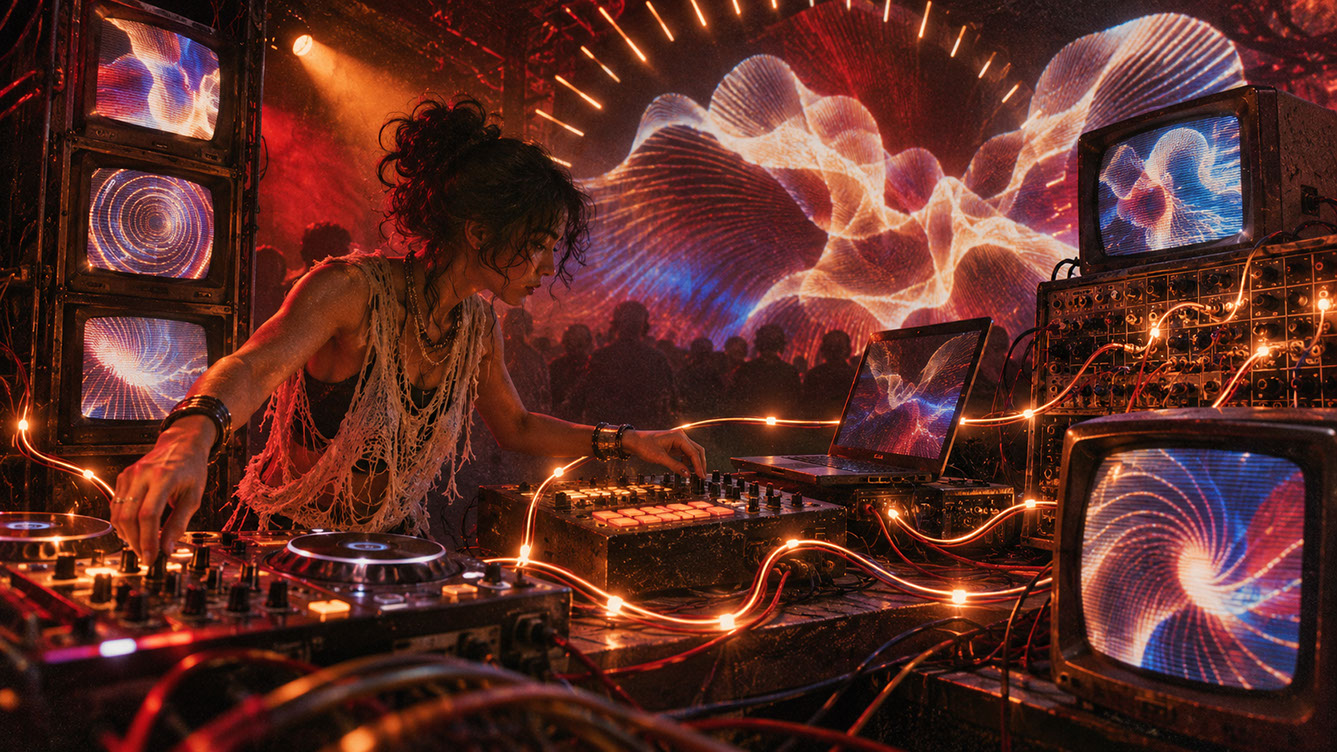
Ableton Link
Ableton Link synchronises beat, tempo, and phase across applications and devices without requiring a permanent master clock. This peer-to-peer synchronisation works across WiFi networks between computers and mobile devices. Crucially, Link enables visual systems to know exactly where they are in a bar, phrase, or arrangement. Implementation is available in TouchDesigner, Resolume, and custom applications.
MIDI Clock
The traditional tempo synchronisation method from a master device, MIDI Clock provides consistent timing pulses—24 per quarter note—along with start, stop, and continue messages for transport control. It remains reliable for simpler synchronisation needs and integrates well with hardware systems.
OSC (Open Sound Control)
OSC is transport-independent, sending discrete messages rather than providing clock synchronisation. This makes it ideal for parameter control, cue triggering, and custom data transmission. The highly flexible message structure accommodates complex mapping scenarios that would be impossible with MIDI alone.
Choosing the Right Protocol
Use Link when synchronising with modern software that supports it. Use MIDI Clock with hardware or legacy systems. They can coexist in the same setup, and many professional rigs combine multiple protocols for different functions.
 🔍 PLATE 05 — CLICK TO EXPAND
Plate 05 — Synchronisation Protocols Explained — Ableton Link, MIDI Clock, Pioneer PRO DJ LINK & OSC: Plate 05 (Synchronisation Protocols): Locking visual LFOs, camera cuts, and bar-quantised events to the exact musical grid.
Practical Mapping Examples
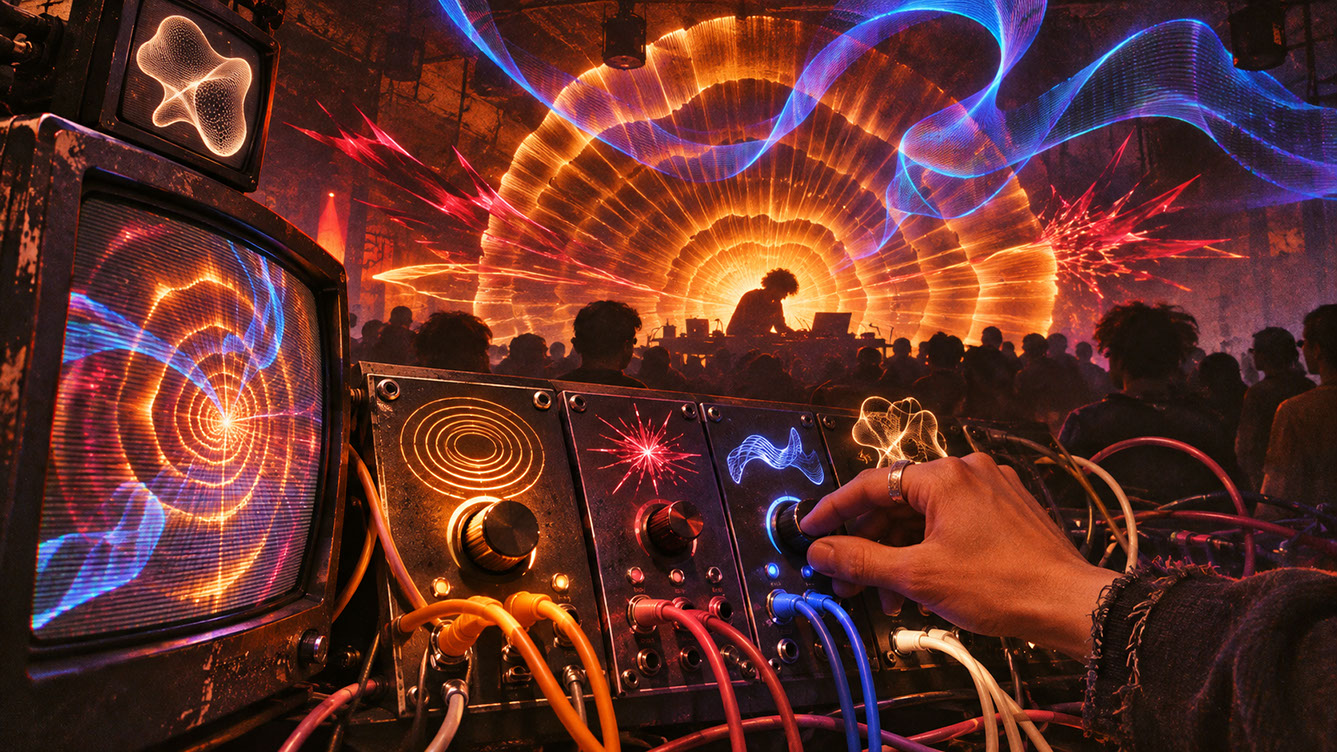
Kick Energy to Radial Expansion
Extract kick drum energy from the sub-bass band or a separated drum stem. Map this to radial scale, particle emission, or geometric expansion. Attack and release envelope shaping determines whether you get punchy, immediate responses or smoother, more rounded visual movements. Avoiding constant pumping requires careful threshold setting and normalisation—not every kick needs maximum visual response.
Bass to Particle Gravity or World Distortion
Sustained bass energy works beautifully for slower, weightier visual elements. Consider affecting physics simulations, mesh deformation, or atmospheric density. The relationship between bass frequency and visual mass feels intuitively correct to audiences—low sounds driving heavy visual behaviour creates satisfying synaesthetic connections.
Snare Transients to Camera Shake or Flash
Detecting sharp transients in mid-frequency bands enables brief, impactful visual responses that reset quickly. Camera shake, flash frames, or sudden displacements work well, but avoiding motion sickness through controlled displacement is essential. Keep these effects punchy but not overwhelming.
Vocals to Colour Temperature
Using vocal presence to shift colour palette creates subtle but effective audio-visual bonding. Warmer colours when vocals are prominent, cooler tones when instrumental sections dominate. These shifts should support rather than distract from the voice, operating almost subliminally.
 🔍 PLATE 06 — CLICK TO EXPAND
Plate 06 — Practical Mapping Examples — Kick to Radial Scale, Bass to Gravity & Vocals to Colour Warmth: Plate 06 (Practical Mapping Examples): Proven perceptual mappings that make musical relationships immediately legible to the crowd.
Normalisation and Calibration Techniques
Why Normalisation Matters
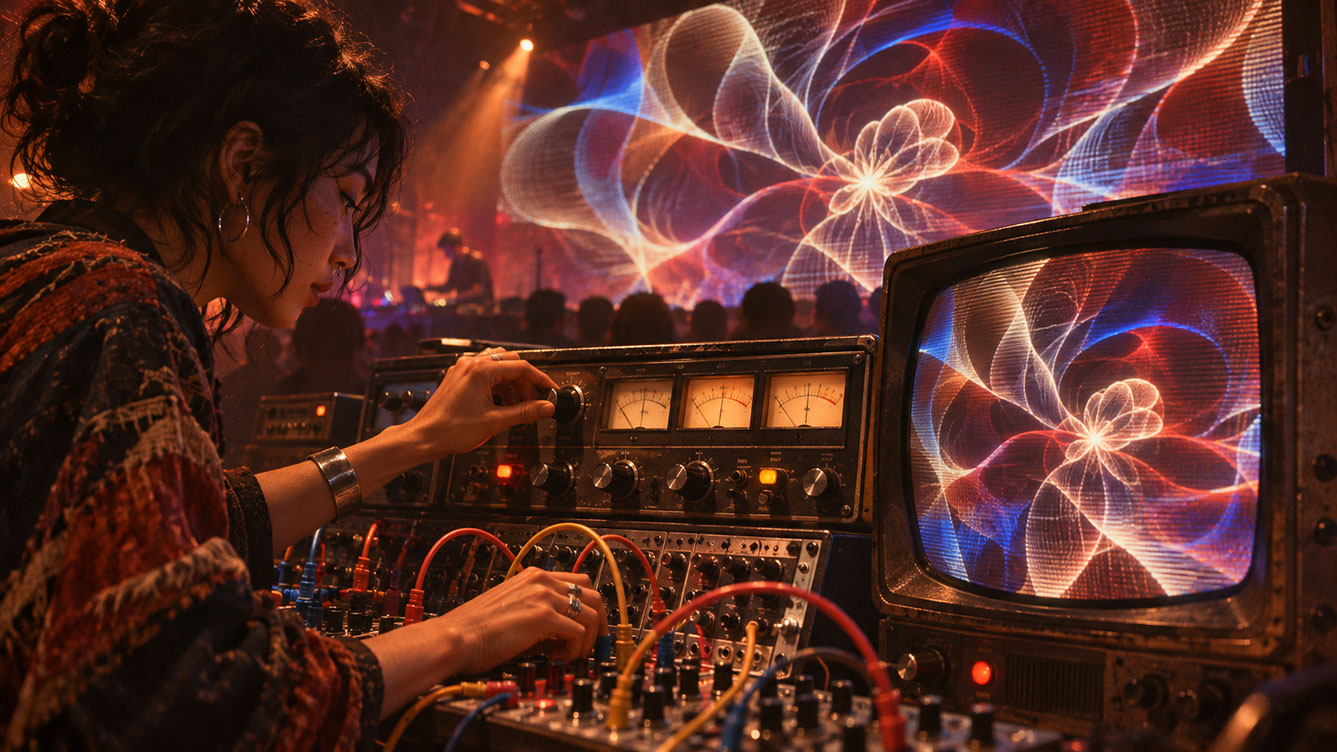
Different tracks have vastly different frequency balances. A bass-heavy dubstep track versus a bright, percussive techno track requires entirely different scaling. Without normalisation, parameters either barely move or constantly max out, destroying any sense of dynamic range.
Practical Normalisation Approaches
Automatic gain tracking adjusts to incoming signal levels over time. Moving average comparison provides relative rather than absolute values. Peak hold with decay maintains consistent response across varying material. Manual calibration presets for known genres or tracks offer the most control when you know what material you will be performing.
Attack and Release Controls
Smoothing prevents visual jitter from noisy audio analysis. Attack time determines how quickly parameters respond to increases. Release time controls how quickly parameters decay after peaks. Different settings suit different musical elements—fast for kicks, slow for pads and atmospherics.
Preventing Destructive Reactions
Clamping maximum values preserves visual composition. Implementing dead zones ignores low-level noise. Emergency dampening handles unexpected spikes from analysis errors. Building these safety measures into your system prevents catastrophic visual behaviour during performance.
 🔍 PLATE 07 — CLICK TO EXPAND
Plate 07 — Normalisation & Calibration — Rolling Auto-Gain, Hysteresis Gates & Asymmetric Lag Filters: Plate 07 (Normalisation & Calibration): Keeping audio reactivity smooth and well-proportioned even when DJs push mixer gains into the red.
Genre Testing Strategies
The Single-Track Development Trap
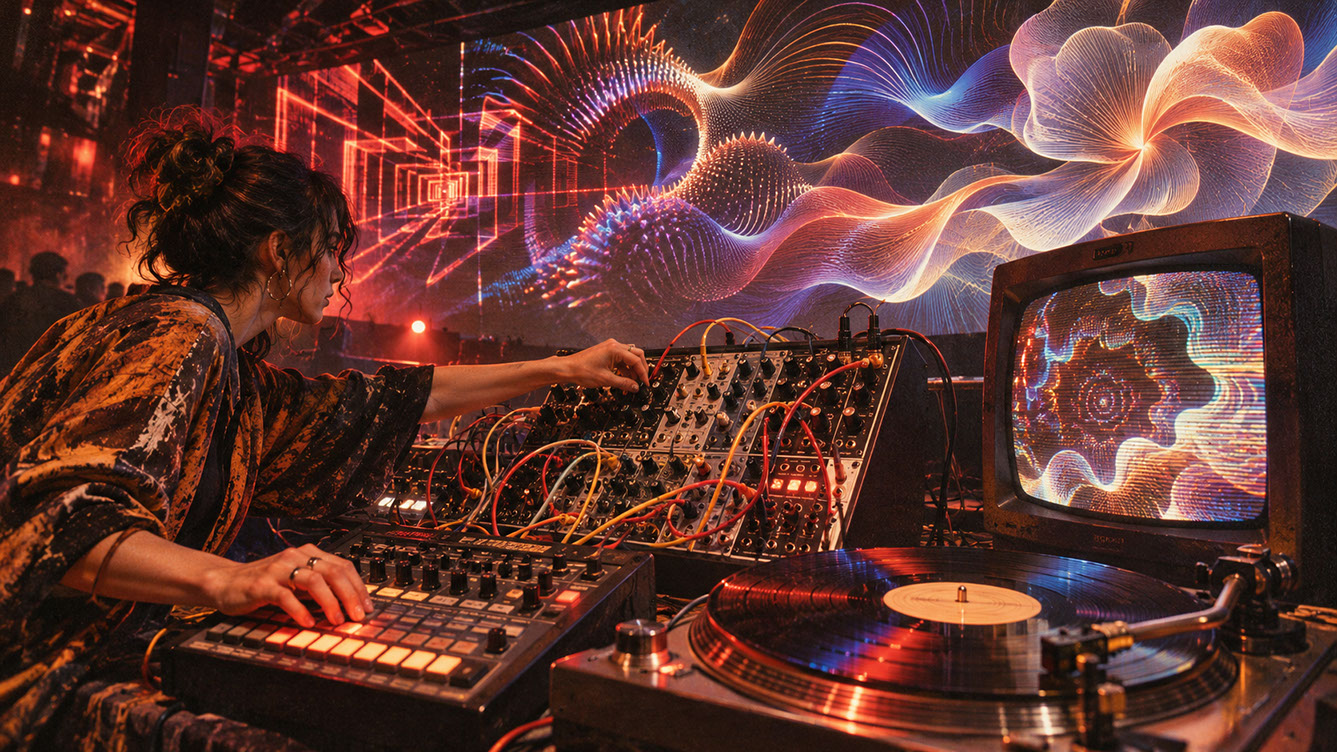
Building patches using only one development track is a common mistake. The track's specific frequency balance becomes baked into your system, producing catastrophic results when performing with different material.
Genre Testing Protocol
Test with at least five dramatically different tracks during development. A suggested range includes minimal techno, bass-heavy dubstep, vocal-forward house, complex breakbeat, and ambient material. Document how each audio feature behaves across genres. Identify which mappings remain stable versus which need per-genre adjustment.
Building Adaptive Systems
Genre presets that adjust normalisation, frequency bands, and smoothing parameters save performance time. Quick-access controls for live calibration allow adjustments without stopping the show. Learning to read when a patch needs adjustment mid-performance is an essential skill.
 🔍 PLATE 08 — CLICK TO EXPAND
Plate 08 — Genre Testing Strategies — Stress-Testing Patches Across Techno, Drum & Bass, and Ambient: Plate 08 (Genre Testing Strategies): Escaping the single-track development trap with a multi-genre stress-testing protocol.
Creating Visual Phrasing
Beyond Constant Reaction
Not every beat needs visual response. The power of visual silence and restraint creates contrast that makes active moments more impactful. Following the music's arrangement rather than just its amplitude means understanding when to hold back.
Building Tension and Release
Use slower visual elements during build-ups. Reserve certain behaviours for drops and climaxes. Visual development that mirrors musical development creates emotional coherence between what audiences hear and see.
Different Time Scales for Different Features
Transients deserve immediate response measured in milliseconds. Rhythmic elements work on phrase-length scales across bars. Arrangement-level changes operate over entire sections. The layering of these time scales creates depth and interest that simple beat-reactive systems cannot achieve.
 🔍 PLATE 09 — CLICK TO EXPAND
Plate 09 — Creating Visual Phrasing — Multi-Bar Tension, Negative Space & Dramatic Drop Releases: Plate 09 (Creating Visual Phrasing): Composing across 8-, 16-, and 32-bar musical arcs with deliberate stillness, tension, and release.
Conclusion
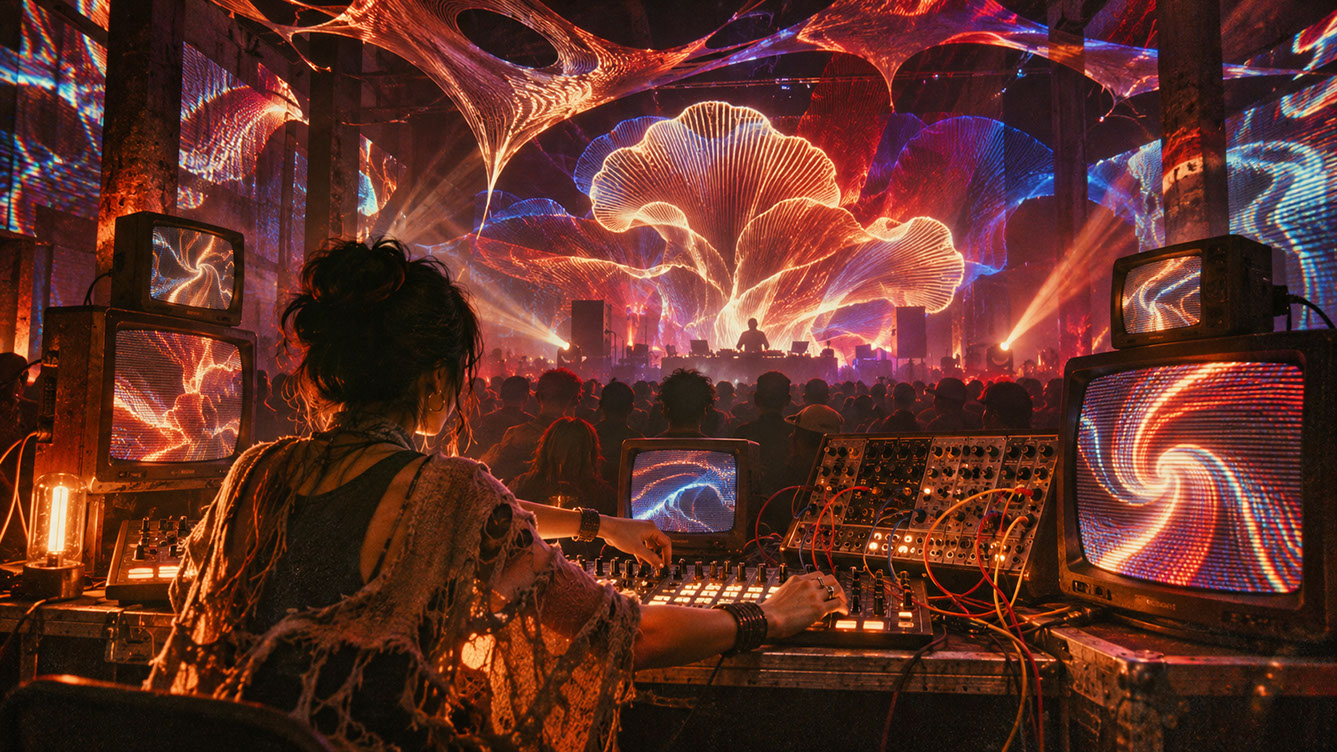
The transformation from visual systems that merely respond to volume toward systems that understand musical roles represents a fundamental shift in audio-visual performance. When your visuals can distinguish between a kick drum and a vocal, between a transient and a sustain, between a build-up and a drop, you move from creating reactive noise to crafting genuine audio-visual conversation.
The path forward starts with auditing your current audio-reactive setups. Identify where you are collapsing musical information into simple amplitude. Choose one technique from this post to implement first—perhaps FFT band splitting, or synchronisation via Ableton Link, or genre testing your existing patches against dramatically different material.
Once sound, visuals, and timing share a data model, the image no longer needs to remain confined to a conventional screen. The next episode explores spatial stages, volumetric capture, and designing for audiences who exist both in physical venues and immersive headsets.
 🔍 PLATE 10 — CLICK TO EXPAND
Plate 10 — Conclusion — Synesthetic Harmony Between Live Sound and Responsive Visual Architecture: Plate 10 (Conclusion): Transforming technical audio analysis into deeply musical visual storytelling.
⚡ 5 Strategies to Consider
STUDIO PLAYBOOK // 5 DIRECTIVES❓ Frequently Asked Questions — 5 Q&As (5 Q&As)
SCHEMA.ORG/FAQPAGE // 5 Q&As (5 Q&As)Q1. Can I use stem separation with any audio input?
Yes, modern separation engines like Demucs and Spleeter work on any stereo mix, though quality varies. Direct stem access from performers or pre-separated files will always produce cleaner results than real-time reconstruction from a mixed signal.
Q2. How much latency does audio analysis add to my visual pipeline?
FFT analysis typically adds 10-50 milliseconds depending on window size and buffer settings. Stem separation can add 100 milliseconds or more. Test your complete signal chain and design visual responses that accommodate the total delay.
Q3. Should I use Ableton Link or MIDI Clock for synchronisation?
Use Ableton Link when synchronising with modern software that supports it, as it provides beat, tempo, and phase information without requiring a master clock. Use MIDI Clock with hardware or legacy systems. Both protocols can coexist in the same setup for different functions.
Q4. What frequency bands should I use for kick drum detection?
Sub-bass frequencies between 20-60Hz capture the kick drum fundamental, whilst the 60-250Hz bass range captures the kick attack. Combining both bands with transient detection provides the most accurate kick isolation from a stereo mix.
Q5. How do I prevent my visuals from constantly pulsing on every beat?
Implement threshold settings so only significant peaks trigger visual responses, use normalisation to maintain dynamic range, and apply attack and release envelopes to shape response curves. Reserve maximum visual intensity for climactic moments rather than every beat.
EXPLORE RELATED STUDIO TAGS (6):
Glad this piece sparked something — want the matching 4096×4096px .ZIP pack?
Enter your email below for an instant direct download of Studio Seamless Pattern Pack — Drop 01 (WPAY_DROP01.zip) plus new Studio Journal essays & free drops.